Wow, that's a mouthful of a title! Seriously though: It's not BS. I want to tell you about how I used a (free) service called CloudFlare to dramatically speed up my website.
The Backstory
I've been a happy BlueHost customer for many years now, but I've noticed that as my WordPress website gets more traffic and I add wonderful plugins, the time it takes my site to load has been less than optimal. According to Google, page load time is important. In fact, Google incorporates Page Load time into your search engine rankings.
About a year ago, I installed a caching plugin on my WordPress site. This helped a whole lot (instructions here), but things still weren't as fast as I wanted them to be.
Here's a chart showing my average page load time over the last 6 months:

As you can see, I was averaging over 5,000ms (fancy term for 5 seconds) before enabling CloudFlare. Now my average is 2,116ms. That's really high performace!
How to Install Cloudflare
The best news of all, is that if your web host is BlueHost, you pretty much already have Cloud Flare. You just have to turn it on! (If you don't have BlueHost, skip down to the next section)
1. Log in to your BlueHost cPanel
2. Scroll down to the Upgrades section and click on Cloudflare

Now that you're on the CloudFlare settings page, you're going to see all sorts of options, including CloudFlare premium. You can skip that.
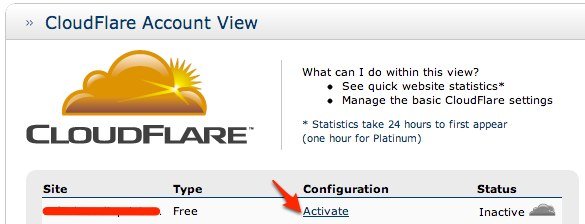
3. Find your domain name in the CloudFlare account view section and click Activate

4. Now wait a sec while BlueHost thinks. If all goes well, you'll see a little orange cloud and the word Active next to your domain.
Last but not least, you're going to want to set up an account at CloudFlare.com. Why? You can view stats for your domain, and manage CloudFlare settings from there. If you scroll down the CloudFlare page in BlueHost, there's a section called Advanced Statistics that tells you how to further set up your CloudFlare account.
Super easy, right? Just another reason that I'm a fan of BlueHost.
What if I don't have BlueHost?
Second, CloudFlare has integrated itself with a number of other web hosts like DreamHost and HostGator. Check out the full list here.
If all else fails and you want to install CloudFlare on your own website, it's still pretty easy, though it requires some DNS changes to your web host.
1. First, you'll want to head over to CloudFlare.com and sign up for a free account. All set?
2. Great, now you should be looking at your dashboard. Type your URL into the Add Site bar and click Add Website

After clicking Add website, CloudFlare will perform a “record scan”. It's basically trying to discover your current DNS settings. Hang out for about 60 seconds while this gets done.
3. Once the record scan is complete, click Continue setup.
4. Next, CloudFlare will show you what it found and give you the opportunity to make changes. In my tests, I did not find that it missed any records. Click I've Added All Missing Records.

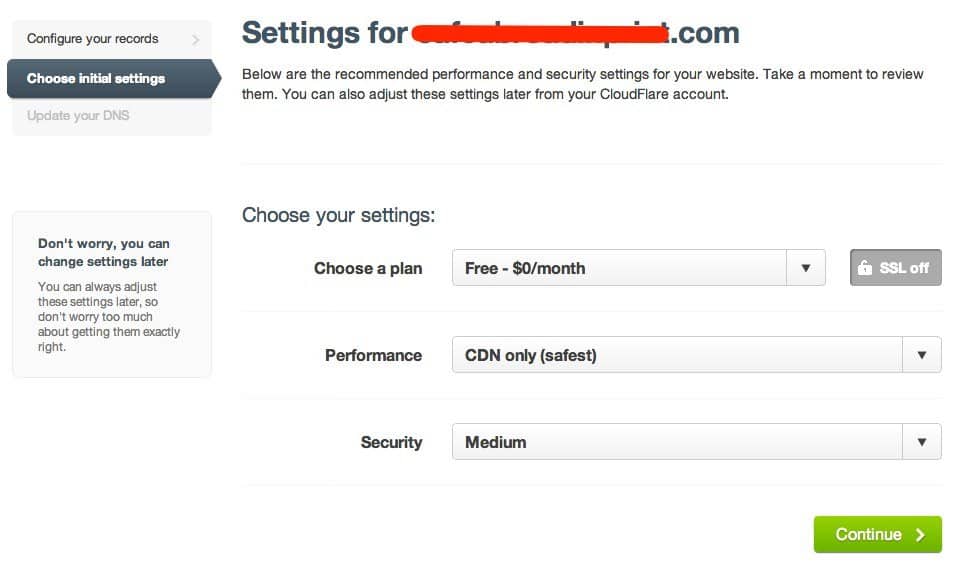
5. Now you'll need to choose your service plan. I recommend going with the free plan!

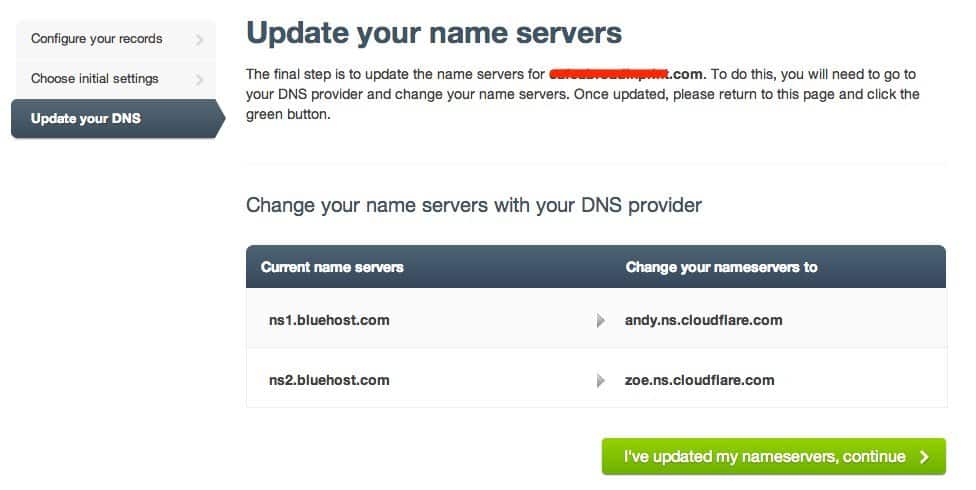
6. Now the somewhat technical part: You'll need to update your NameServers. This doesn't mean your switching hosting providers or domain registrars. This is just telling the internet that when someone goes to yourwebsite.com, they should check in with CloudFlare for the fastest version of the site. If you have a halfway decent hosting company, you should be able to contact their support department and ask them to make the changes for you.

If you're allergic to the back-end of your web host and would rather have someone do it for you, I can help you do this, too.
That's All Folks
I really think that CloudFlare helps solve one of the major issues with WordPress- that sites can load a little sluggishly, especially if you're not on a top tier (expensive) hosting solution. What have you done to speed up your website? Are you going to try out CloudFlare?


